I've been a bit busy and distracted by life outside boatbuilding, recently, which is why I haven't had chance to blog. Frustratingly I've also been slowed down by having done something to my (other) knee, which makes if painful to walk and excruciating to kneel on. Ibuprofen is helping. I've even rested it, but the psychological trauma ensuing from that is probably worse than the physical trauma from using it!!
With the second layer of plywood on, it was time to fill and sand.
In the photos, it looks remarkably even. In reality less so, but I don't mind. I've done my best and it will do what it is intended to: hold the hull together and keep out the water.
This is meant to be a photo showing how the centreline of the deck is perfectly over the centreline of the bottom of the boat. Of course, you can't see it and of course by moving the camera one way or the other I could have fudged it. But anyway, it's a way of having a quiet boast. I'm rather proud of myself (not to say more than a little startled!).
The next step is to put the teak on. Well, no, actually, I need to put on the hatch frames first and fix the king plank - and the covering boards. But it's all made of teak so I guess I have started laying the deck. One of the reasons for marking the centreline was to try to ensure that the hatch framing was parallel to it. The laid decks would make it horribly obvious if it weren't!
Having done a lot of measuring both on deck and below I started to cut out the opening for the hatch. Very scary! For those who object that it's not on the centreline:
(a) the centreline has been reinforced to take the loads from the mast (b) I like the hatch to be over my bunk (c) it won't leak any more or less off to one side. Either it leaks, or it doesn't.
With my natty little battery circular saw, I joined the dots (the holes made using a hole saw. Wonderful things).
It ended up just about where I had planned.
I dry fitted it, but subsequently came to the conclusion that you don't want too snug a fit. It was hard to get the edges epoxy sealed because the thickness of the epoxy meant that the hatch jammed.

I could have put framing for the hatch in when I was doing the plywood, but I wasn't sure exactly where it would end up. It was no more difficult to do it now.
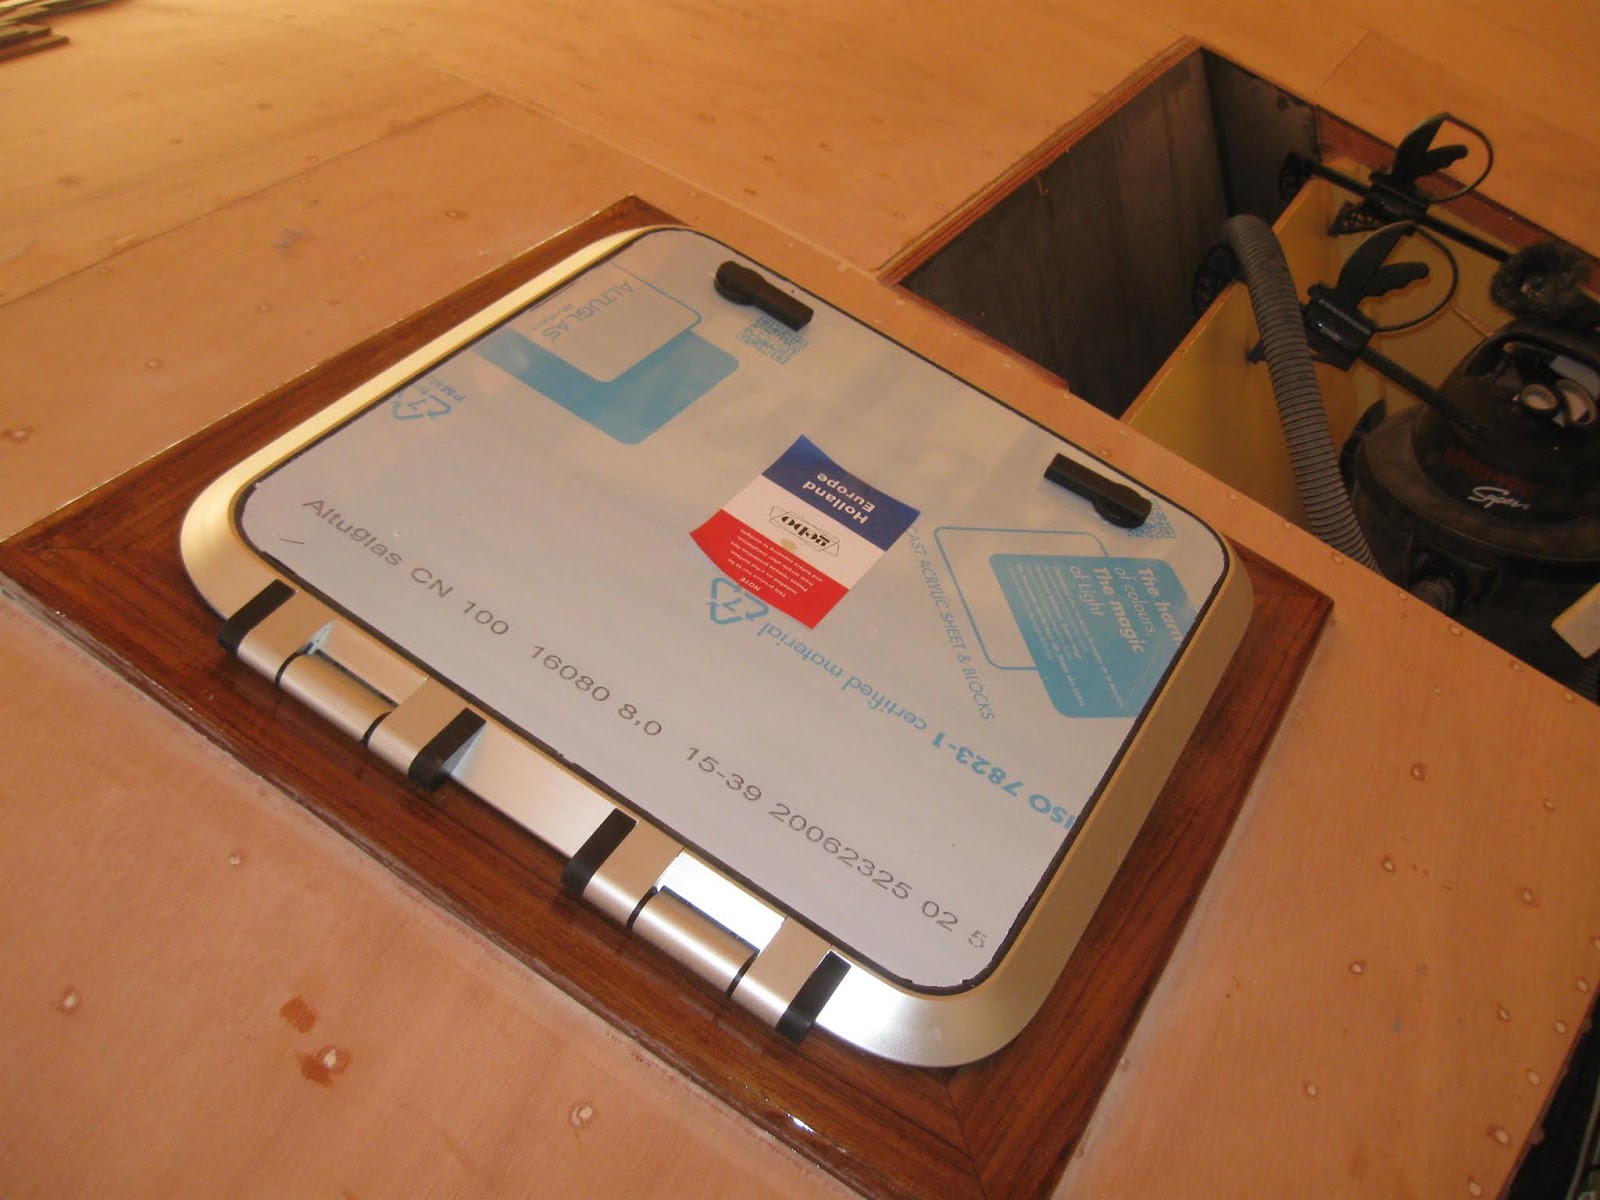
I traded (in advance) my thicknesser for a large piece of teak that my friend, Marcus, had. With huge trepidation - have you any idea what teak costs?? - I cut it and planed it. Then I cut mitres and glued it all together to make a framework for the hatch.
With the glue cleaned up, the wood sanded and a coat of epoxy on, it looked pretty smart.
I also had a small hatch, intended to go over the galley. I bought it at a knockdown price for
Fantail, but never fitted it. Just right for
Fánshì.
Again I made a frame for it. This time I could salvage some teak from an unwanted galley rack that I had been given.
Fitting the forehatch.
The galley hatch frame coated.
I purchased a tube of grey Simsons Marine Glue and applied it lavishly to the hatch. Supposedly, these hatches are to be level +/- 1mm. In my wildest dreams I would never achieve this. I relied instead on using heaps of mastic and just tightening the bolts gently. Whether it will leak, only time will show. Being lightproof is not necessarily the same as being waterproof.
The little hatch was also framed up.
As you can see, 'little' is the operative word! Still, it's only a little boat.
I thought of a very cunning plan to line up the framing, using pieces of ply to overlap the joins to keep it even. The screw was used as a handle to line up the final piece.
I then used the wee router to trim the head liner and did the same at deck level. As you can see, I still haven't fitted the trim; this is supposed to be a Sunday job, but as I am typing this at 3.50 pm and still have a way to go, you can see that Sundays tend to get rather over committed.
Noel Barrot, a well-known and awe-inspiring boatbuilder, comes by to look at my progress on occasion. He is very kind and never winces at my 'joints'. He suggested that I pre-bend my covering boards by slowly forcing them into a curve and then holding them down with thumb cleats, while they get the idea.
Ready to install the galley hatch. The Simsons cleans up really easily. An endearing trait.
And there it is, finally in place.
So now I can get on with the decks. My stock is in two widths, due to having come from thicker material that had a rebate and that was split in two. So I laid out all the teak that is required to cover the centre deck. I have
just enough of the wider material. I used narrower stock on the foredeck and what's left will be used up in the cockpit until I run out!!
The camber makes the bending of wood nearly impossible - 230 mm of deflection is a
lot. Anyway, I scavenged through the pile of bits that I've been given and acquired and glued lengths together to get approximately the required shape for the after bulkhead.
It cleaned up quite nicely and I temporarily screwed it in place, out of harm's way. The forward end is much shorter and I will probably laminate the wood for that
in situ, possibly facing it so that the laminates don't show. Lack of finances does mean that some jobs take longer than they might. No worries, it's all good fun!
Once the covering boards/margins are in place, it will be time for cutting and laying the deck, proper.





 I could have put framing for the hatch in when I was doing the plywood, but I wasn't sure exactly where it would end up. It was no more difficult to do it now.