As I think I may have mentioned, I broke my computer screen some time back. Shirley gave me a tablet which is great for most things, but not brilliant for blogging. However, I have managed to get my photos from my camera and with great worries now about all my 'devices' dying on me, have decided to try and get most of
them onto this blog. Besides, the nerdy types are probably interested in the building of my bilgeboards, the description of which has been a bit skimpy. I may repeat myself from previous blogs and there may be more than the usual number of typos. Please bear with me.
Skinning the bilgeboards was harder than I'd anticipated. The 6mm ply seemed to flop over quite nicely at the dry run stage, even with the temporary screws in, but when it came to gluing it down, it needed a heap of extra screws. It would have been easier with 3 layers of 4mm, but that's life.
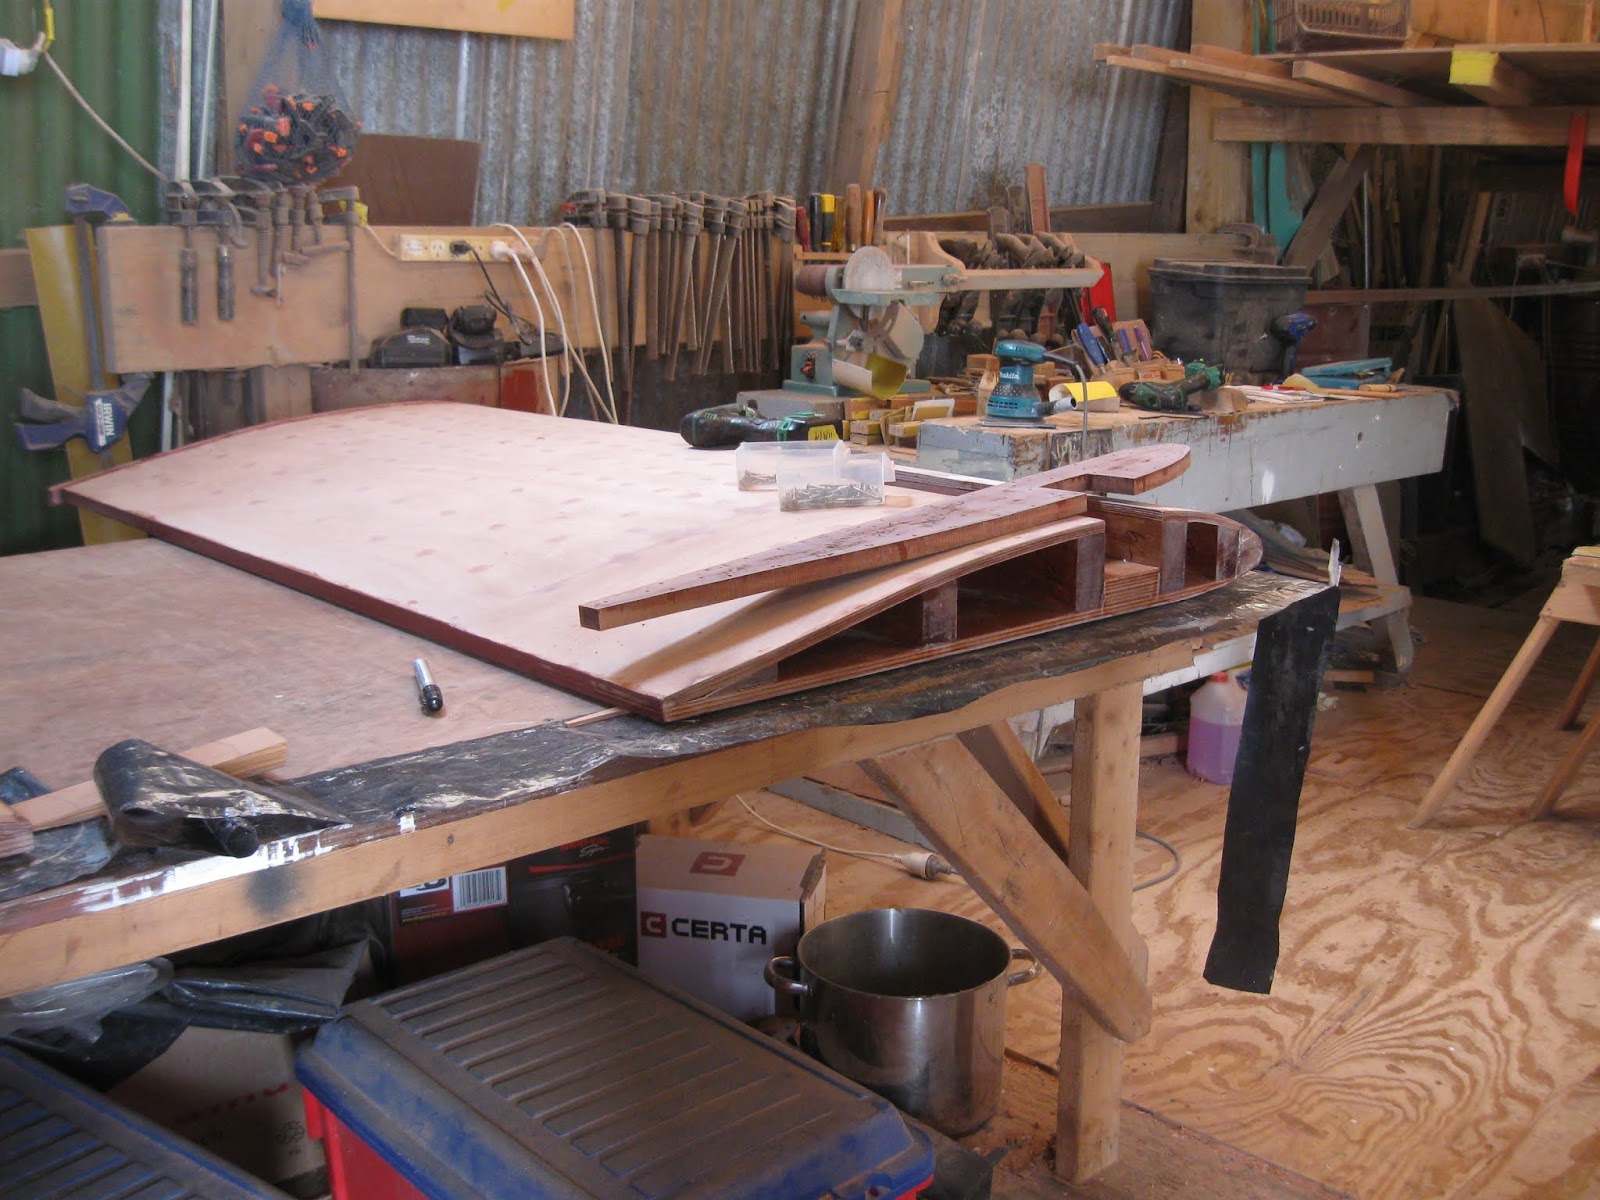
Here you can see the shape of one of the bilgeboards.
And end on you can see the partially covered leading edge. Needless to say, the boards couldn't conveniently be covered with plywood and my remaining stocks had to be juggled a bit. In fact I had to go and buy an extra half sheet for this job.
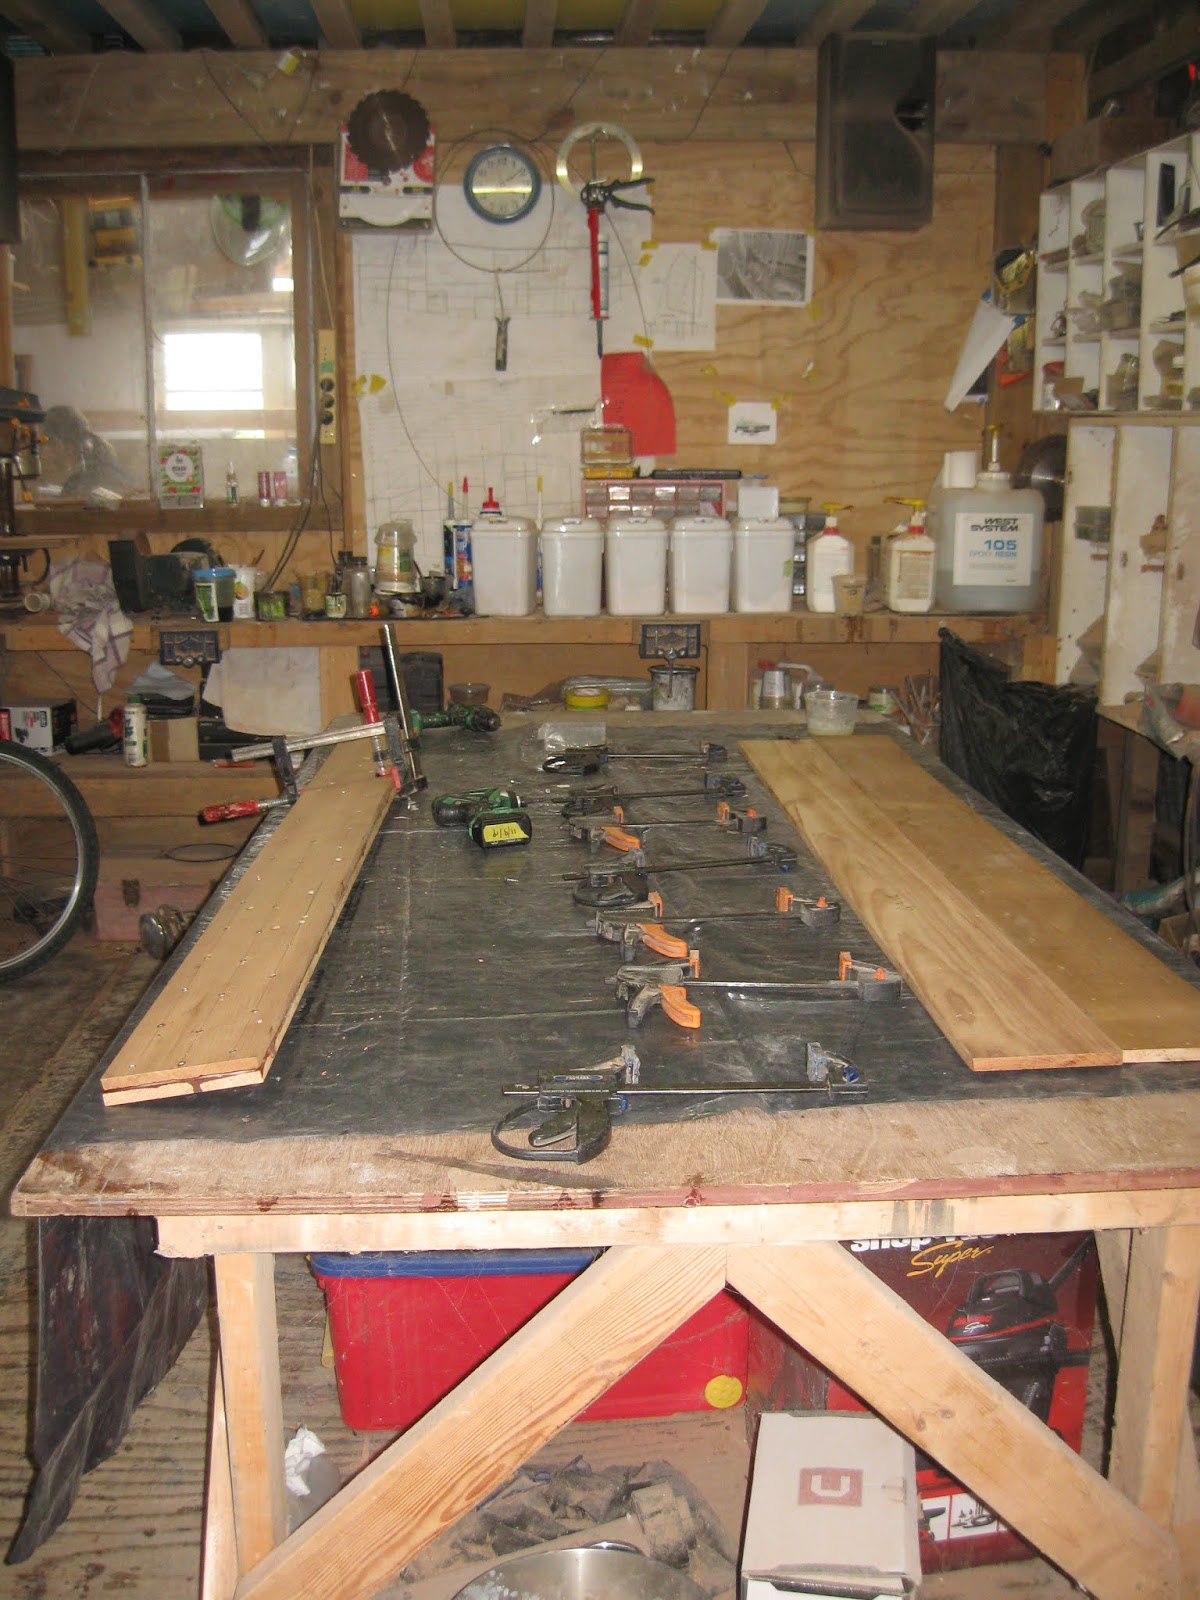
A bit of sanding and fairing was required along the leading edge to smooth out where the two sheets of ply met.
I had made a plywood pattern to help me shape the boards and it was used a zillion times. It provided the template for the ends and I was pretty satisfied that the boards were fairly similar to one another and not far from the pattern.
I had the usual business of coating with epoxy and waiting going on, so I thought this might be a good time to tackle the rudders. Pete and I made the basic shapes years ago and my friend, Rob, had volunteered to shape them. Life (and a new boat!) had got in the way, and when they decided to move house, the rudders came back, with their noses rounded off, but otherwise much the same as when they'd left. So I set about shaping them. Here I am making grooves as a guide to how deeply I should plane the wood off to get a nice taper.
And here is the first one more or less there. I found it very difficult to get those last few mm off because I was worried about taking too much off one side, or taking a gouge out at the last minute, etc, etc.
Meanwhile,
back at the bilgeboards: my friend, Gordon, paid a flying visit.
Gordon is both tall and (unsurprisingly) considerably stronger than I. I
desperately wanted to check that the bilgeboards fitted, before
finishing them off. I quickly attached the plastic anti-chafe to them and then he and I manhandled the starboard one into the slot from below, which involved some minor earthworks.
In spite of having bilgeboards in his own boat,
Tystie, Gordon, along with just about everybody else, instinctively expected the flat side to go inboard. I have come to the conclusion that our innate sense of symmetry is what makes us expect the curved side of the board to match the curved side of the boat, but it's reassuring that I'm not the only person who had had to think twice about them.
The fit was acceptably snug athwartships and allowed me to mark where the uphaul block would be placed.
Fore and aft, the fit was a little too snug. In a nutshell, for some reason the slots have ended up shorter than intended. As the boards require plastic anti-chafe along the trailing edge, the only solution was to take the circular saw to them and trim the to size. As this hardly affected the width of the after end, it was no real issue.
It was very satisfying to see the board in place, if a little frustrating to realise that it would be a while before they are fitted again.
We propped it up to get it home. In reality, it can go further up than this.
Fish-eye view at anchor.
Looking up the after end. A triangular filler piece with the downhaul block will be fitted here which, unfortunately, means the boards will have to be loaded from a above. I will need to rope in extra hands for this, and with all the physical distancing rules that we have to work around, this could be interesting.
So we took it back to the table and I carried on working on it. The next thing was to glass them.
This is one job I enjoy, because I know I can do it well. I'm still using the same roll of cloth that Paul, from All Marine, gave me at the start of this project. Considering that other junkie friends have also used it for covering masts and various repairs to their boats, it's done remarkably well! What a wonderful gift.
While waiting for the epoxy to cure, I went back to the rudders. The next stage was to glass them. I had applied a fair bit of filler to remove the worst of the bumps and hollows.
I am not a great fan of using heavy glass cloth, but made an exception for the bottom of the bilgeboards, which will often act like legs, or 'training wheels' on a child's bike, when I dry out.
The lower part coated. This will be finished with Coppercoat.
I have decided to attach the rudders using the method popularised by James Wharram Designs. Quite apart from it being an inexpensive way of doing the job, there is minimal maintenance and no rattling. Nor do I need to worry that I have a steel keel and a different metal at the rudder fittings. No corrosion, etc. To be honest, I really couldn't get my head around how the work, even after examining them on Bertrand Fercot's
Grand PHA. Nor was I sure how rounded the faces needed to be, so I decided to do a mock-up.
This showed me what was required and that yes, it does work. To be honest, it still puzzles my poor little brain as to how it does. It reminds me of the 'magic boxes' that a magician friend of my dad's used to have.
Now that I knew the bilgeboards would fit, I could make the support which holds the downhaul block. My ever-useful template allowed me to measure for it fairly accurately - I hope!
In the meantime, black epoxy was being spread with gay abandon on the bilgeboards. I shall probably leave them like that rather than bothering to paint them. Or maybe not ...
With the boards coated, I could prop them up out of the way, and fix a chunk of wood to screw the block into: the bottom of the slot was only 12 mm plywood and as the block will lift the full weight of the board, I wanted some substantial fastenings for it. If you ever wonder, in a job like this, if it's worth keeping small offcuts - the answer if 'yes'.
Here are the wedges that will go at the bottom of the bilgeboard slots. I'm using simple, Ronstan blocks for these. In the end I decided to buy them from All Marine, rather than online. Not only do I like to support local businesses, but if I find I've ordered the wrong thing, I know they'll let me change it for something else.
I screwed the wedges in place - making sure that only a maximum of 10 mm of screw went into the hull. I hate fastening things to the hull - one of the disadvantages of a small, plywood boat is how thin the skin is!
The boards coated with resin on the lower part and resin/graphite on the upper part, with the blocks fitted and the clamp screwed on, that will hold the standing end of the up/downhaul in place, could finally be moved off the table and out of the way, so that I could get on with other things.
And seeing as how I was working on the rudders, the 'next thing' might as well be their trim tabs. I considered using saligna, but once again, its weight counted against it, in addition to the fact that shaping such hard wood was going to be a mission.
I still had some of my kauri siding left (thank you Gordie!) and reckoned that even the paint removal, planing, sawing, plugging etc that these required, was still going to be less work than machining, gluing and shaping the saligna. And certainly a lot easier. Kauri is a delight to work with. I cleaned up four big planks, cut the worst bits off and staggered their splits. I'm getting to the end of it, now and most of the wood is pretty knocked about. Anyway, I used a generous number of screws to hold it in place while the epoxy cured.
At this time, the easiest way to fit the rudder to the boat appeared to be to make small stern posts. I could then line everything up on the table and then have no problem when it came to matching rudder holes with stern post holes, when it came to lacing them on.
I had a hefty lump of kauri and it cleaned up pretty well to make the two stern posts.
I matched the stern post to the rudder at one side and the trim tab at the other and marked where the ropes would go.
I temporarily fitted the stern posts and everything was going well, until I offered up the rudder and realised that there wasn't sufficient width for stern post, rudder and trim tab. These little challenges are sent to try us and are one of the reasons why I will be quite happy never to build another boat.
A lot of tooth sucking and a couple of sleepless nights later, I decided that it is only at the top of the rudder that there would be a problem. The skeg, to which the rudder will be lashed, goes all the way up to the top of the stern. My solution - yet to be tested - is to send the rope lashings through the skeg in the same way as lower down, and then back out through the transom. Hmm. David tells me that he intended the rudder to fit flush to the stern and assumed that I'd put a bronze fitting top and bottom. I can see how the bottom one would work, but for the life of me cannot see how a fitting could be attached at the upper end ...
Anyway, I got couple of saw horses and added scraps of plywood to bring them to the correct height. With Shirley's help the rudders were placed in position and I could then mark where the matching, lashing holes should go. An extra 12mm piece of wood had to be added to the after end of the skeg to bring it out in line with the transom.
It was quite something to see the rudder in place! And looking just like the drawing.
Drilling the upper holes was awkward, but nowhere near as awkward as lacing the lashings is going to be. I am a patient person when it comes to this sort of thing, but I anticipate that my reserves will be at rock bottom by the time I've done the job twice.
The upper part of the trim tab needed a fair bit of wood taking off in order to fit in the gap; however, there is still plenty left.
They were shaped with plane, belt sander and random orbit sander, with a fair bit of hand planing.
Wharram Designs suggest 5mm rope and rebating the grooves by 3mm. I didn't reckon this was a place for the router, so did it the old-fashioned way with a chisel. I have spent a fair bit of time teaching myself to use a chisel. I am hardly an expert, but it is satisfying to be able to do a reasonable job in this way. The lower face still needs cleaning up. I made a jig to hold the drill in place to make the holes vertical. It sort of worked. Needless to say, the photo shows one of the best examples.
Matching, but slightly staggered holes, had to be drilled in the skeg. I made a template that supposedly has made this foolproof. This remains to be seen. I really, really dislike doing this sort of job. I know only too well how profoundly stupid I can be and it's more than a nuisance if I get it wrong. Fitting out the interior is much more fun!
The trim tabs turned out quite well, although it was a bit of an issue trying to get them to be both a fair shape and 5mm thick at the trailing edge. And of course, they are supposed to be perfectly symmetrical and identical, one with the other. Yeah, right. I just hope they aren't disastrously different. It's jobs like this that make me wonder why I ever started this project.
This is the little 'foolproof' template for marking out the holes. I used the same one for the trimtab as the drilled out smaller holes.
Here the holes have been drilled on both rudder and trim tab. You can see the endplates on the rudder here. Somewhere there are a couple of photos of fitting them, but they seem to have disappeared! Anyway, the endplates are made from 12mm plywood and stuck on either side. This means that the bottom of the rudders that might, on occasion, hit the bottom are solid hardwood. Hopefully, should one of the endplates get trapped and come off, it won't damage the rudder too badly.
I did my usual trick with 2mm string and epoxy to make the 'waterline' on the rudders and trim tab. Because of I decided to put Coppercoat all over the lower panels of the hull, and in order to keep the sheer of the waterline looking nice, there will be a lot of copper showing above the water aft. Or at least there
should be if the boat ends up anything like the plan.
The rudders stand up quite nicely on their endplates, which makes them a bit easier to move out of the way and generally manhandle around the shed. Although taller than I and made of saligna, I can lift them up and carry them from one end of the shed to the other, as long as I get the centre of balance correct.
The fact that they would stand up made it possible to coat them with epoxy and graphite in one day.
By clamping the trim tabs to the table leg, I could get them done in one hit, too.
And while I was at it, I coated the whole of the stern. I won't do this for the rest of the black painted area - it's a lot of work to sand it back and probably not worth it, but I wanted the extra epoxy here: there are more joins than elsewhere and the shiny black is brilliant for showing up all the bumps and hollows.
So, up to date at last. The next job is to get the Coppercoat on and then, when it's hardened off, I may as well attach the rudders and get them out of the way. They and the transom, will all need painting first, of course.


2 comments:
Well you are certainly getting closer, and a lot of work there... I like the string hinges, a neat solution.
Very impressive Annie! Keep up the good work and solving the various snags and conundrums that come to try you!
Very best wishes, Paul
Post a Comment