Search This Blog

Badger

Badger
In Greenland

Iron Bark

Iron Bark
Under full sail

Fantail

Fantail
At Russell Boating Club's Tall Ships Regatta

Blue Water Medal

Blue Water Medal
Blue Water Medal

Books By Annie Hill

  • Brazil and Beyond
  • Voyaging on a Small Income

04 March, 2018

Two satisfying achievements

My apologies for not having posted for so long.  Life does get in the way and today it's already half past two in the afternoon, I've been on the computer since 10 o'clock and haven't written the three letters that I was definitely going to deal with today.  But I really must catch up with my blog - the boat will just have to wait a bit longer for me.

In the past, I have tended to work on one project at a time.  This is not only because it's hard for me to keep several balls in the air at once, but also because it seemed like a logical way to do things.  Recently, however, I seem to have been working on a variety of tasks, but with all the deckbeams fitted aft, I could prepare to install the tabernacle.  This needed to be done concurrently with the forward deck beam in the forecabin, because the tabernacle is not quite what David envisaged, nor in the same place as originally planned, so measurements from the design could only help me so far.  Indeed, the only two things that really counted were that the after face of the tabernacle should be at station 2, and that it should end up at an angle of 4°.  

Another matter to take into consideration is that I had no design for a mast step, the solid and secure woodwork that will stop the tabernacle from moving to the left, when the mast wants to move right and vice  versa.  With no rigging, the step has to be immovable.  Normally, one would build up a large box and that would be that, but in my case I had a fore and aft backbone, surmounted by the side of the bunk, and an athwartships floor, backed up by a floor for the keelbolts.


It seemed to me that the obvious thing to do was to utilise the purpleheart floor to build up the mast step.  As I still have some purpleheart left, I cut this to shape and stuck it to the floor, in two layers, leaving space to access the keelbolt nut.  (In theory.  It would be a hell of a job to get a socket there and use it, in practice!)  As the floor had been left coated in epoxy, it was a simple task to sand it down and slather some more around.  I put on one layer and then decided to build up the step to 100 mm, so stuck on another layer.

 While the glue was going off, I carried on fitting the deck stringers, which will help in fitting the plywood deck, inside and out.

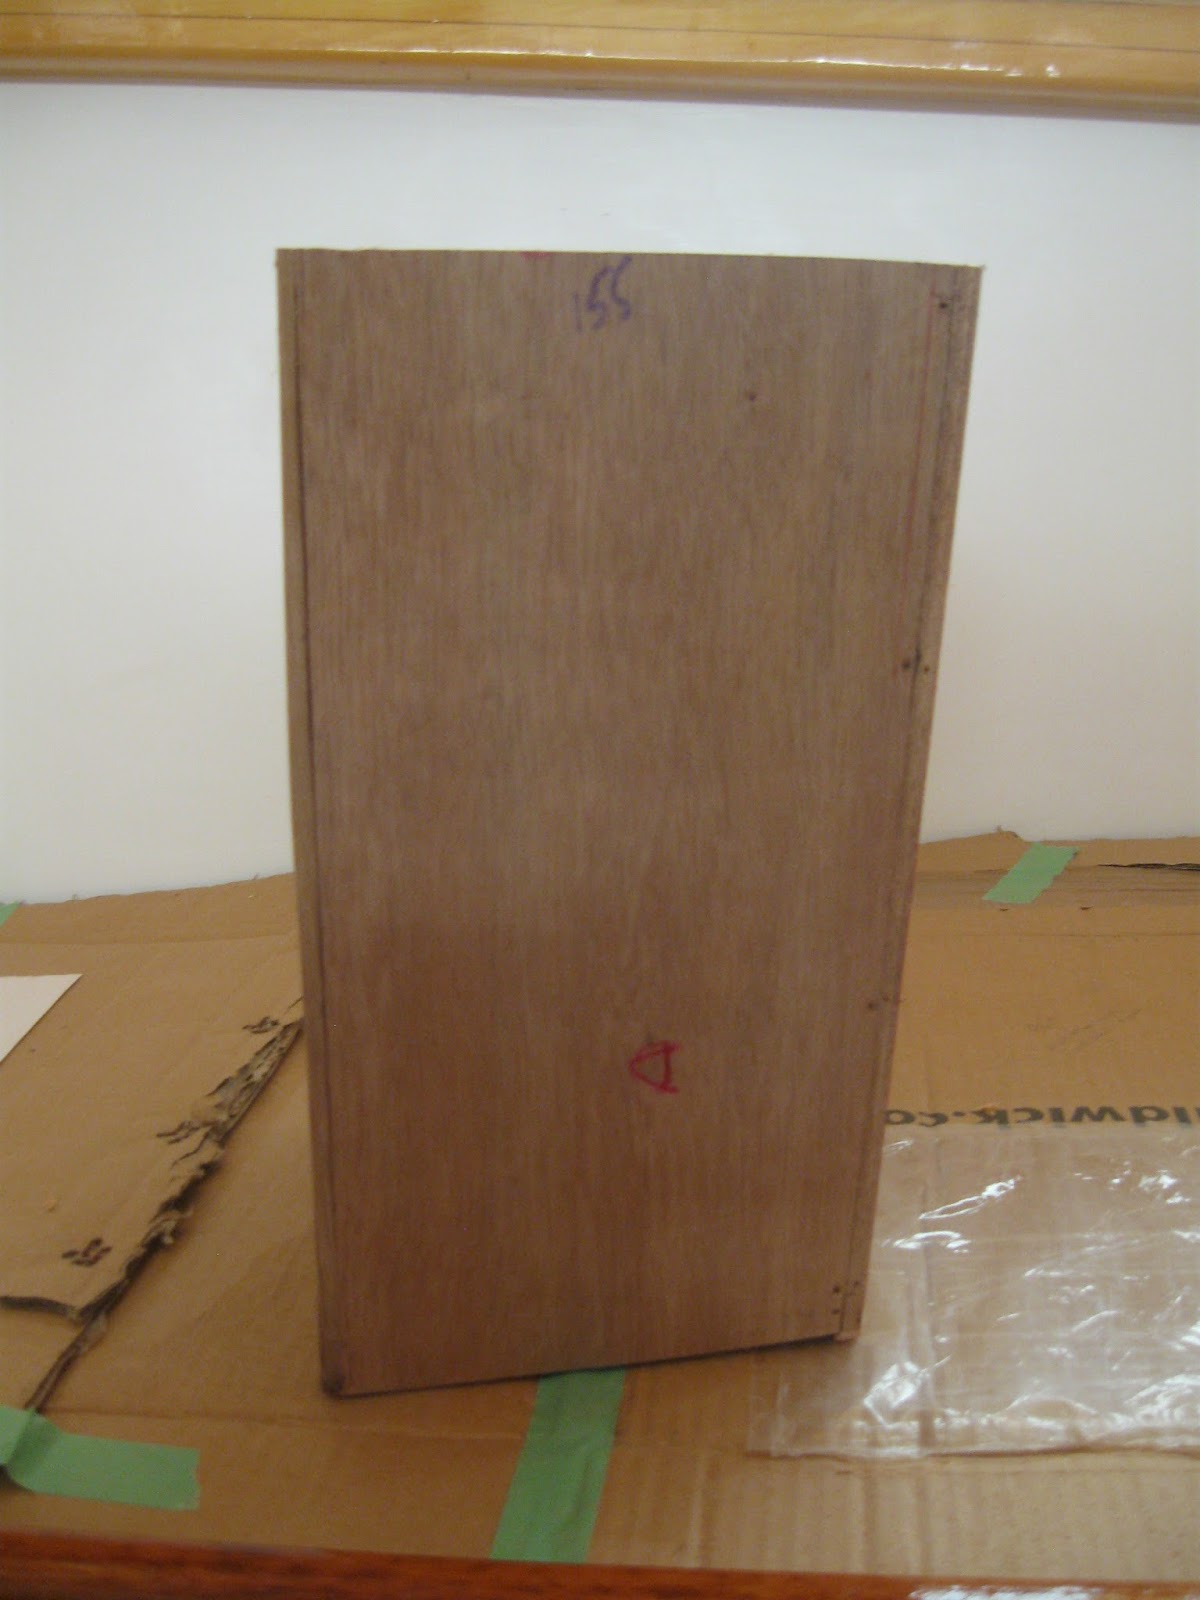
 In the meantime, I sweated blood over a pattern of the base of the tabernacle, so that I could make the mast step the correct size.  As the tabernacle is tapered and was over length, this took a ludicrous amount of measuring and cutting: pattern making is not my strong suit.  And, tell it not in Gath, but the base of the tabernacle was not absolutely square.

I placed the pattern on the bottom of the boat alongside the bunk and started building up the step against the hull.  This obviously had to be pretty strong - 12mm of plywood on its own is not going to resist much sideways movement.  However, Arne Kverneland, a Norwegian member of the JRA, who has been involved in numerous junk rig conversions, has evolved an excellent method of making a mast step - simply gluing layers of plywood together until you have the requisite height and shape.  This is a lot easier than taking a 100mm block of wood and trying to fit it to the complex shape of the hull.

 Eight layers later, and I had a good, strong step alongside the hull, spreading the loads from hull to floor to backbone.  Great stuff, epoxy.

 Back on the deck framing, I fitted intermediate stringers.  More framing makes for a stronger deck and ensures that the thin plywood lining will follow the intended shape.  I am using treated kaihikatea for this: a very light, New Zealand wood.  It soaks up resin like a sponge, so you have to take your time over gluing it together, to avoid dry joints.

 And now, for the first of the two satisfying achievements mentioned in the title: I finally fitted a porthole!  Doesn't it look great?  Admittedly, I haven't yet set it on mastic: until I have roughed out the saloon, I'm not entirely sure that when it's open, hinged up, it will be away from my head, so I might have to turn it 90°.  But as I'd got it all polished and perfect, I didn't want to leave it around where it might get damaged.

 With the after part of the tabernacle sorted out, I turned my attention to the port side.  Again I cut purpleheart to shape and laminated it in place, this time straight to the 24mm bottom of the boat.  Both purpleheart floors have had holes drilled in them, through which coachscrews will be wound to help secure the tabernacle.  I am fairly sure that, considering that it is also going to be glued in place, it isn't going to go anywhere!  At least I hope not.

 I had spent quite a lot of time debating whether to make a sloping step or to cut the rake onto the foot of the mast.  In the end I decided that it was better to have a level base to glue to, so that the glue wouldn't run off while we were faffing around getting the tabernacle into place.  With the help of trigonometry, I had worked out that I needed to start 11.7mm from the horizontal with my saw cut.  You can imagine how many times I checked to ensure that the tabernacle would end up leaning forward, rather than aft.  It was a bit scary, in truth.  And hard work, too - it was too big to fit under the drop saw.

 I was ready to do a dry run, and as Pete had his boat hauled out here, Marcus was around and, coincidentally Rob and Maren had called by for a visit, I took the opportunity of doing so.  For a while there was, perhaps, an excess of chiefs who all knew what I should be doing next, but we got it standing,

 slipped in the piece of plywood, on which I had marked the 4° angle,

 lined it up,

 and clamped it into place.

 Then we took careful measurements to the front of the cabin

 so that I could mark for where the forward deck beam should go.


 At the same time, I drove the coach screws part way into the tabernacle, so that I could drill the holes for them, in the right place.

Then we took it out again and everyone went home.

The next job was to cut the notches for the beam and to glue it into place.  I clamped a stick of wood in place to ensure that the forward face of the beam was 516mm from the forward beam, as we had measured.

 The next day, I was ready for the second satisfying achievement: finally gluing the tabernacle into place.  About time, you might say: it's been kicking around for about a year, now!

Having had a dry run, and only having to put glue on the butt of the tabernacle, getting it into place was quite straightforward.  Pete and Marcus did the heavy work and with the beam in place to lean against, there wasn't too much stress, although I did start fretting that the epoxy would be going off when we realised that the trim along the top of the bunk was stopping the tabernacle from being quite vertical. 

 That was trimmed off and I got down to cranking in the coach screws.

 With those in place, we could be sure that the tabernacle would stay solid until the glue cured.  I was pleased that Pete could be here to see his contribution to SibLim taken to its conclusion.

 After that, I had only one beam left to secure.  I have had to take the forehatch into account here.  Putting it on the centreline, as tradition and dogma demands didn't make much sense: there will be reinforcing running fore and aft from the tabernacle, and I don't want to cut a damn great hole through that.  For that matter, the forehatch could well interfere with the rigging for the sail.  It will go over the head of my bunk, so that I can look out of it at night.  As I don't intend to put sails in and out of it while underway, and as it will be dogged in anything but the calmest of conditions, I cannot see that it should be a problem.


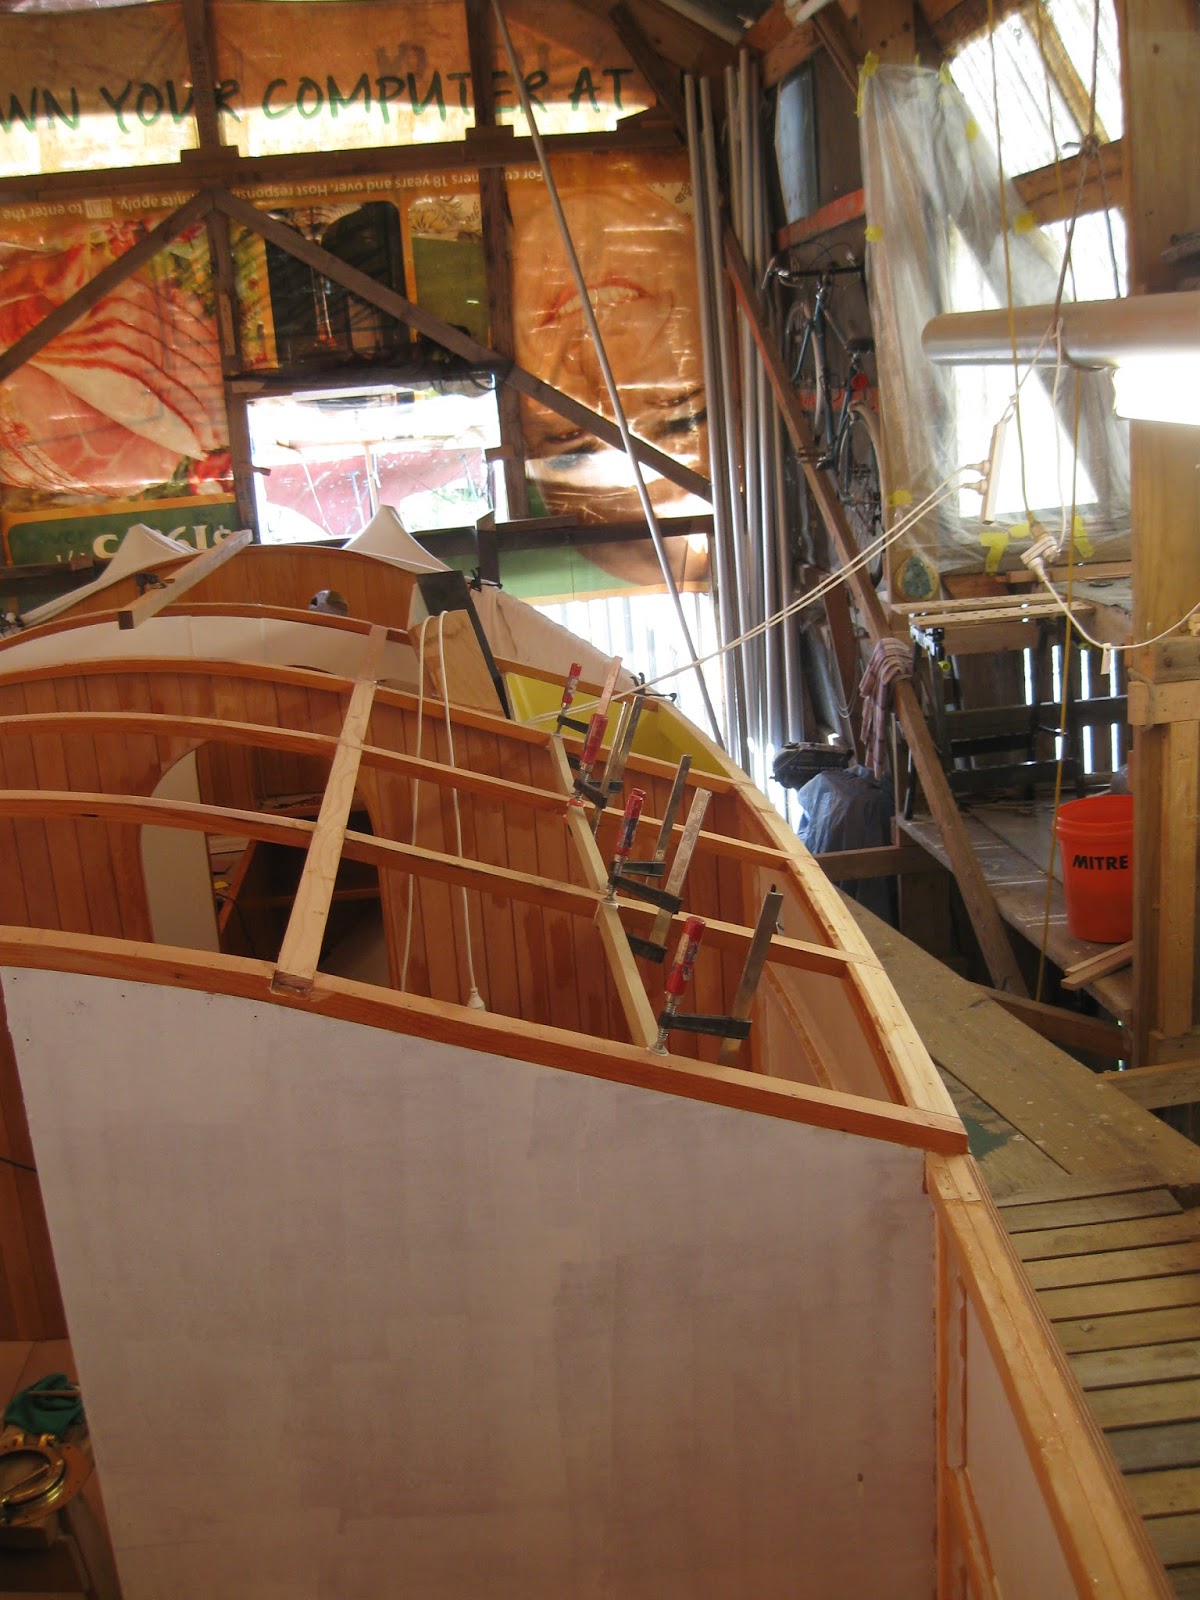
I thought it about time to have an overview of the boat.  It's starting to look something like now, with deck framing and the tabernacle in place.  I have to decide what colour to paint said tabernacle - it's pretty big and I'm not sure I want it to stand out too much!

Now I can complete the cabin sole in the forecabin, covering it in tigerwood.  A job I'm looking forward to.

Marcus had just been given a ute from an old friend, and when he brought it back, it was loaded with second-hand kauri that Gordy had contributed for Marcus's boat and mine.  Thank you Gordy: what a fantastic gift.  Now I should have sufficient kauri to finish the job.  There's plenty of work in cleaning it up, but you can see from the piece on the right hand side, that it's well worth the effort.

11 February, 2018

Lots of cutting

 With the deckbeams in place, I could now take on a job that really required doing ages ago.  The bulkhead at the after end of the cabin was built as an 'H' shape, the lower cutout allowing access under the cockpit and the upper cutout allowing access into the cockpit.

 Somehow or other, this had been incorrectly marked, making it too high.  I hadn't wanted to cut it out until the deckbeam was in place, because the two parts of the bulkhead would have been a bit insecure (although no doubt more than strong enough).  Moreover, fitting the deckbeam allowed for a physical check that the cross-piece was in the wrong place.  The initial idea was that I could just sit under the deck in the companionway: when the deck beam was fitted, I found I couldn't.  So, I braced myself and took to it with a saw.

 More than a few people had suggested I do this ages ago, to make access in and out of the boat easier, but I had resisted this sensible suggestion.  I suppose it is easier, but having got so used to ducking underneath, I don't really notice it, to tell the truth.

Early in the new year, Marcus helped me mark out the line which will be the bottom of the lower rubbing strake.  This was so that I could work out where the portholes are to go.  This is always a tricky decision: one wants them to by symmetrical from the outside, but on the other hand, they also have to look right inside and not end up behind joinery!

Anyway, I marked at regular intervals along the sheer clamp and then measured down.  I marked the same on the other side, noted the measurements I'd made and
transferred them to the port side.  I then ran a length of masking tape to make a continuous line.  I then measured the midpoint between the two, so that the portholes would be centred horizontally, and then measured along to get them even vertically.

These measurements were transferred to the inside and the two were verified by the simple expedient of drilling a hole through where the centre of the porthole would be from both outside and inside.  A 0.5mm drill was used.  There was no significant discrepancy, so I took a punch and marked all the centres a little more deeply, so that the large drill from the hole saw mandrel would locate positively.  I then marked all the portholes with the hole saw from the inside to check both with tape and by eye that they all looked OK.

Then I took a deep breath and cut the first hole.  It was a long tedious process.  I used my battery drill, because it is lighter and slower than the hand drill.  It got pretty hot and the batteries didn't last too long, but as my wrist soon tired of holding the saw in place, this didn't prove to be a problem.  A lot of people warned me that I might well have issues using such a big hole saw, but thus far it hasn't been a problem.  Possibly because the plywood is relatively thin.

I drilled six holes in total (having already made the ones at the front of the cabin) before concluding that the hole saw had done its dash and needed re-sharpening.  So now I'm waiting for it to be ready.

In the meantime, it was back to working on the deck framework.  I am fitting two stringers between the bulkhead forward of the bilgeboard and the after bulkhead.  These are going just where the flat part of the deck joins the curve, so I can use fairly big pieces of wood that won't require shaping.  I decided to notch them over the deck beams and found that a 'multitool' in combination with a router was a good way to mark the rebates.

With the multitool I cut slots across the rebate, as you would with a normal saw, and then chiselled the remaining wood out.  This left a rather rough notch that was a few mm shy of the required depth.

I then took the router and cleaned out the rebates to the correct depth.  You can see one of the stringers in this photo, being dry fitted.

The slot cleaned out nicely, ready for accepting the glued stringer.

The next job is to get back to the tabernacle and mast step, so that this can be fitted together with its deck beams.


28 January, 2018

Mainly deckbeams

Fitting deckbeams - for me at any rate - is slow, painstaking work.  And not terribly photogenic.  However, I'm quite pleased with the results.

 The first thing to do was to smooth down the upper surface of the bulkhead.  It wasn't sawn perfectly to begin with, although it was pretty good, and there were dribbles of epoxy, etc, from various jobs.  The deck, you may recall consists of two straight lines (on either side) and a curved centre section.  An offcut from the deckbeam stock helped me check that the edges were straight.

 In the meantime, I finished coating the foredeck.  What looks cream in the photos is, in fact, a rather pleasing (to my eye) shade of yellow.  It is impossible to get far enough out of the shed to get a decent photo, but you'll have to take my word for it that it looks pretty smart.

 The next thing was to offer up the deckbeams.  What with springback (the amount the laminated curve tries to straighten out again), and the less than perfect scarfs, this was one of those (many) situations where I was profoundly grateful for the gap-filling properties of epoxy.  As the deck is going to have an inner liner inside the deck beams (to create an even stiffer deck), the 4mm ply will hide these rather wide glue joints.  I hope.  And anyway, knowing my joinery, it will probably require fillets all round to hide the gaps!

 It had also occurred to me that the tabernacle should be varnished before installation.  It will be a lot easier to touch up any scratches than to try and apply varnish between the tabernacle and the side of the bunk.  So over the next several days I varnished a side or two, whenever the time seemed appropriate.

 The existence of epoxy also made it a little less nerve-racking cutting the notches that the beams rest in.  I could have used a multitool for this, but it didn't take that much longer to saw and chisel out the notches and there was less room for making a major botch.

 I dry fitted the beams, levelling them with each other and the one already fitted at the front of the cabin.  It would have been easier if I hadn't fitted the first one - levelling the bulkheads without a beam on them is much easier.  Having realised this, at least I had the sense to do the next three bulkheads at the same time.  I used lots of screws to pull them into place, then backed out the screws, spread glue and put the beams down again.

 The whole project was made somewhat more stressful by the recent temperatures.  38⁰C in the shed with high humidity, thoughtfully topped up by the weather gods with regular showers.  I had to break out the super-slow hardener, which I don't think I even used last year.  I daren't use any other at present.

When I came to fit the intermediate beams in the saloon/galley, I found that they seemed to be lower than the bulkheads.  I thought I was going to have to use brute force to bring them up to the same level as the others once they were installed, which was a bit of a worry.

 The answer came at three in the morning as I lay in bed:  they had simply slipped lower down the sheer clamp and all that was required to put them in place was to clamp them to straight edges laid across the other beams and then screw them to the sheer clamp.  Obvious, no doubt, but not to me and I felt absurdly pleased with myself for working it out.  I was equally pleased for remembering to put spacers between them to ensure that they didn't twist out of alignment while the glue was setting.  With the clamps off and the screws out they are within epoxy-filling reach of accurate.

 Once all the beams from the heads aft were cleaned up, I needed to put in the wood for the liner.  It was a lot easier than in the forecabin, because the lengths between the beams were sufficiently short that I could get away with straight pieces (there is less sheer here, too).

Ever the optimist, I intended to clamp them in, but with the clamps being screwed down at an angle, they slipped and slithered about too much.  A quick round with the drill and a few screws did the job.

Talking of drills, I need to give a shout out to Bunnings, here.  My friend, Steve, had given me on of their cheap and cheerful battery drills and I found I used it a lot.  My battery screwdriver can be a bit fierce, so I used one drill as a driver and one for making holes.  A week or so ago it ceased to take a charge and I took it back, largely because I thought they could dispose of it in a more responsible fashion than I can.  I had no receipt, of course.  To my absolute astonishment, they told me I could have another.  Unfortunately, they don't make this rather natty little drill (with a built-in battery) any more, so the replacement was much more clunky.  However, it was over $11 cheaper and they refunded that, too! That is definitely service above and beyond what I expected, (even if it was the ethically correct thing to do) and I feel they deserve a pat on the back.  I would generally prefer to use Mitre 10 - a Kiwi-owned franchise - but this Aussie company gave me excellent service.

On which happy note, it's back to polishing the portholes.

14 January, 2018

Happy New Year

 My apologies for not having blogged for a while, but Christmas, New Year and Tall Ships can all take their share of the blame.  And I did try to have a bit of a holiday in the holiday season! 

Our Tall Ships junket must have been the longest ever, starting well before the Tall Ships Regatta and, indeed, I believe that there are still junkies up there, sailing in company and socialising even as I write.  My own effort to join in was looking to be a disaster, when the car that I share broke down the day before.  A severe gale came along later in the day to give me a sleepless night, as I battened down the shed and then was kept awake by its shuddering through the night.  The Friday before Tall Ships dawned blowy and wet, but I caught a bus up to Opua, persuaded my kind friend, John, to collect me from the car ferry and arrived to find that conditions had moderated sufficiently for me to get out to Zebedee, where I had been offered a berth for the night.  He was the only boat I had the slightest chance of boarding, being in a more sheltered spot than most of the fleet!  Conditions moderated sufficiently for us to be joined by several other boats and the mandatory pre-Tall Ships Race dinner was enjoyed by all who managed to make it.

 The next day dawned bright, but breezy and I have to say I was less than enthusiastic about sailing around with a large group of other boats.  it may be a 'friendly' race, but people do get competitive ...

Roger Scott took some great photos and here is one of Zebedee and Blondie storming along before the start line.


We made a bad start, largely due to the fact that neither skipper Alan, nor helmsman, Annie, had bothered to pay a lot of attention to the instructions.  I reckoned my job was to point the boat as directed so lay the blame squarely on Alan's shoulders.  Our sole crew member was too busy watching the other boats to get involved until Alan asked her: "Just which beacon are we supposed to use?"  Hmm, we'd chosen the wrong one.  However, Zebedee took off in hot pursuit of the fleet and we slowly overhauled every single junk, bar Tystie (and we even got ahead of her for a while) leaving Alan ecstatic and me exhausted.  Zebedee is a bit of a brute, close-hauled in gusty conditions and insists that his mainsheet be eased before he will bear away in a gust, so that was Alan's job.  At one point it felt extremely hairy, with boats all round, rocks not far to windward, me desperately trying to leave boats enough room to windward and those to leeward desperately trying to get past us and clear.  Not really my cup to tea, I have to confess.

However, in due course, we were in less crowded conditions, and by watching another couple of canny boats ahead of us, I managed to avoid getting becalmed in the lee of Roberton Island.  That's when we overtook Tystie.  A tacking duel followed, in which we went faster and higher that she did on port, only to lose it all again on starboard.  Sadly for Alan, there was a lot more sailing on starboard than on port, but we still felt that Zebedee had done really well for himself.

 I stayed on for another day of socialising, while the rest of the junkies carried on having a perfectly wonderful time.  I gather there has been much sailing in company, visiting back and forth and blather about all things junk.  This is another of Roger's great photos of Zebedee sailing alongside Fantail, showing off the new sail that Bryan has made.

 Anyway, enough of fun and frivolity.  Back to the hard grind.  Just before Christmas, I finished varnishing the forecabin.  I confess to feeling very pleased with it!

 You may recall that back in the dim and distant past, I put the deck on, and anchor lockers in the foredeck.  Belatedly it occurred to me that the chain locker would hold chain and that the anchor would be on the bow and that the two would be connected.  Therefore, it might be a good idea if the chain could come out of the locker without the hatch needing to be open.  After pondering for a while on how to protect the woodwork, I went to Stanley's and bought a second-hand skin fitting for $5 and cut it in half.  It should do the job nicely.

  One of the jobs that I've been frankly terrified of doing, is cutting holes for the portholes.  If I put them in the wrong place, there would be no going back.

I had found a hole saw, the correct size for the cut-out (which struck me as a lucky break), but had also been put off by the dire warnings of the thing getting out of control while I was trying to saw the hole out.  Big, heavy powerful drills can be a handful for most men and can certainly do a lot of damage in my hands.  However, it had to be done, so I borrowed a more powerful battery drill than the one I own and set to.  Apart from taking a long time (I used the slow setting), it was pretty painless.


And the result was most satisfactory.

 This is what it looks like from on deck ...

And this is the view from below.  A red letter day, for me.

Another job that has been daunting me is fitting the deck beams.  This is another of those jobs that just has to be done correctly, otherwise I'll end up with an undulating deck.  Unfortunately for me, joinery is required in order for the beams to notch into the sheer clamp.  However, one of the things that I've learnt is that if I take something sufficiently slowly and carefully (one reason why this boat is taking so long) I can usually figure out how to get to where I want to.

 I marked the bulkhead, planed and then sanded it to match the beam (sending up prayers of thanks to whoever it was who invented gap-filling epoxy, which turns this bodger into a builder) and little by little got the beam, bulkhead, and sheer clamp to match.

 That done 'all' that remained was to glue it into place, with the assistance of clamps and temporary screws.

 Ah yes - I forgot to say that the reason I finally fit one of the deckbeams, was because I wanted to finish off the foredeck (apart from the bulwark capping) and couldn't do that unless the deck beam had been put in place.  With everything masked off, and after preparing the remaining deck box for painting, I set to.

 The first coat was applied with a brush, but when SibLim Club member, Phil, asked why I wasn't using a roller I decided to give it a go.  I'm not the best with these things, but have to say it went on quite nicely.  'But it takes a lot more paint than putting it on by brush,' I pointed out. ' Isn't that the idea?' he asked me.  Duh.

 While the paint dried, and with the bit in my teeth insofar as deckbeams are concerned, I added an extra batten of wood on the inside of the sheer clamps.

 These provide a landing for the inner deck liner, which ends up creating a stiffer deck.

 More framing will be required between the deckbeams and the stringers so the deck is supported and the deck liner has something to glue to.  Fitting that should be an interesting exercise ...

 Part of fitting the deck beams involves fitting the tabernacle.  Or the other way round if you prefer.  It will be a lot easier to sand and varnish it while it's horizontal than when it's in place.  Another job that can be carried out while paint hardens off.

 And while I'm at it, I need to decide what porthole goes where.  The glass is badly scratched in some of them, so I don't want those right next to my face when I'm sitting up in my bunk or in the saloon.  I may as well finish cleaning all of them up while I'm at it.

And here is the foredeck, with the final coat of paint applied.  Once it has cured a bit, I'll sand both it and the varnish down and apply clear finish over the lot.  This makes scrapes easier to repair, if they're not too deep and effectively seals the edge where paint and varnish meet.  When it all starts to look a bit scruffy, all that is required is to coat the lot with a couple of coats of clear polyurethane.  When this boat is launched, I hope to keep maintenance to a minimum!