Search This Blog

Badger

Badger
In Greenland

Iron Bark

Iron Bark
Under full sail

Fantail

Fantail
At Russell Boating Club's Tall Ships Regatta

Blue Water Medal

Blue Water Medal
Blue Water Medal

Books By Annie Hill

  • Brazil and Beyond
  • Voyaging on a Small Income

06 January, 2019

Another year - more boatbuilding


Well, here we are comfortably into the New Year of 2019, and may it be a good one for everyone reading this.  I should like to think that my little boat will swim this year, but to be perfectly honest, I shouldn't like to bet too much on it.  So we'll carry on as before, one day at a time until the job is done.

The best news is that the New Year will see me starting a new project.  The interior is almost complete and I can get on to the decks at last.  That will be exciting.  It will also be very hot as I shall be laying them through the middle of summer in temperatures that will be in the 40°s C at the top of the shed.  However, if my usual progress is anything to go by, it will probably be winter by the time I finish and things will have cooled down.


 My last post saw me fitting the galley sink.  I then coated everything and have to say it looked rather magnificent!  I put this coat on immediately to stabilise the rather excitable tigerwood.

 I then sanded it all down again, and fitted wood plugs to all the screw holes.

 Finally I could start one of the real lolly jobs: putting down the cabin sole.  I've been looking forward to this.  The bits of masking tape have numbers on, so that the pieces all go back in the same place when they get glued down.

 Gluing the pieces in by the settee front was more than a little awkward, as I had to work under the lift-up settee extension. I decided to take the wood up the side of the boat - the white paint just looked out of place.

Screws out, glue cleaned up and everything sanded waiting for plugs to be fitted.

 I rummaged around and found some offcuts of tigerwood that were perfect for fiddles around the top of the drawer locker.  Oddly, the athwartships one looked too heavy and needed to be planed down to look right.

 I have spent a long time agonising about how to drain the sink and finally hit on the idea of a 'grey water tank'.  This eliminates holes through the hull, means I don't need to empty a container every time I use the sink and avoids a lot of pipework cluttering up the space under the sink.  I realise that this solution would not suit many people, but it fits in with my way of thinking.

 The water containers will live under the cabin sole, so the floor boards are effectively hatches, to give me access to the bilge.  In order for them to land securely, once they were cut down, I had to add some thickness to some of the existing floor bearers.

With everything cut to size, I could then start fitting the rest of the planking on the cabin sole.  I decided to fit the planks full length, running across each hatch.  Traditionally, the hatches would be framed, but I felt that would look far too fussy and, besides, the full-length planks look rather lovely.

 Everything was 'dry fitted' and all the pieces of wood were carefully marked so that they would go back in the right places and not get mixed up.

  Again, I covered the side of the boat with tigerwood, leaving white paint only on the stringer, which I think looks rather good.  I used paper to make a pattern

 and then MDF to make a more solid one I could fit accurately.

Finally, all the wood was fitted  and I could get down to gluing it down.

I took out all the hatches and put them on the table.  Quite apart from anything, it's about 5°C cooler down at floor level than it is in the hull, now that summer is well and truly here.  I added some microballoons to the glue mix, so that it is closer in colour to the wood.  Some of the pieces of wood needed a bit of persuasion to line up to the one next to them and occasionally there was a small gap that couldn't be straightened out, however hard I tried.

Then I had another big sanding session, followed by the cutting and fitting of no fewer than 420 tigerwood plugs.  My knees are looking rather the worse for wear after all this!

Because this part of the boat will have stuff spilt on it and a lot of foot traffic, I wanted to be 100% sure that there were no little crevices to trap dirt and go mouldy.  So I mixed up filler and went over the whole sole carefully, filling in every little hole I could find.  And then, of course, it all had to be sanded.  Again.

One major job left to do in the interior: make the saloon table.  You may remember that I mocked one up several months ago.  I got it out and dusted it off.  I tried it out.  It seemed too high.  I cut 50mm off the legs.  It still seemed too high, but everything I read told me that I'd already made it too low, so I daren't take off any more.  I hope it's OK.  I hate eating my dinner at chin level.

I pulled down some more tigerwood from the stack and cut it to length.

I assumed it is called tigerwood because of its stripey appearance, but have come to the conclusion it's because the wood goes wild as soon as it's unlocked.  Send it through the saw and it wriggles and wobbles all over the place.  Somewhat hopefully, I clamped the pieces to be glued into the table leaves, to saw horses to 'keep them straight'.

Then I glued them up and left them overnight to get used to the idea.

After sending them through the thicknesser one leaf was perfect; the other still showed a tendency to bow.

 I slapped epoxy on both sides as quickly as I could, clamping them flat again, each time.  Again, I left them overnight hoping that they would stabilise.  Once this is posted, I'll be taking the clamps off.  Fingers crossed that the tiger has been tamed!


16 December, 2018

Like British Rail


We are getting there.

I have been trying to work out where to put my herbs and spices.  I'd thought to make a shelf along the stringer, but the stringer was too narrow and it all seemed excessively complicated for what I would achieve.  Then it occurred to me that I didn't really have a handy locker for tea, coffee, salt and pepper, etc, so I had the idea of combining the two.  

One way and another, I seem to have had innumerable distractions since I came back from Nelson and I've realised that when my train of thought gets broken, even for about 5 minutes, it seems to take me about an hour to get back on an even keel.  So I designed, if that's the right word, this little locker with only part of my mind, and in truth, have been worrying that it might look a bit odd.   


 It went together surprisingly quickly - I've had a bit of practice by now.

 Finding the jars was a bit of a mission: glass are nice, but they would have to be secured for offshore work, while plastic ones can fly about with gay abandon without doing any damage.  I saw some of about the correct size at Para Rubber in Whangarei, and bought a couple of dozen.  Then all I had to do was to make some little fiddle rails to keep them in place.  I think conditions will have to be very bad before they start falling off the shelf.

 I'm still ticking off the wiring.  My good friends at All Marine sold me a nice little 600 watt inverter.  This will be more than enough for running my computer, charging battery tools and powering a sewing machine.  I screwed it underneath the counter in the heads, adjacent to where the battery will be situated.

 I ran the wiring for the saloon lights, intending to screw them into place - another job ticked.

 However, the lamps need to be attached to a piece of wood so that the wire can go into the back of them, and the piece of wood needs to be fitted around the deck lining trim and the deck lining trim can't be fitted until all the deck lining is in place.  Net result: I couldn't fit the lamps.

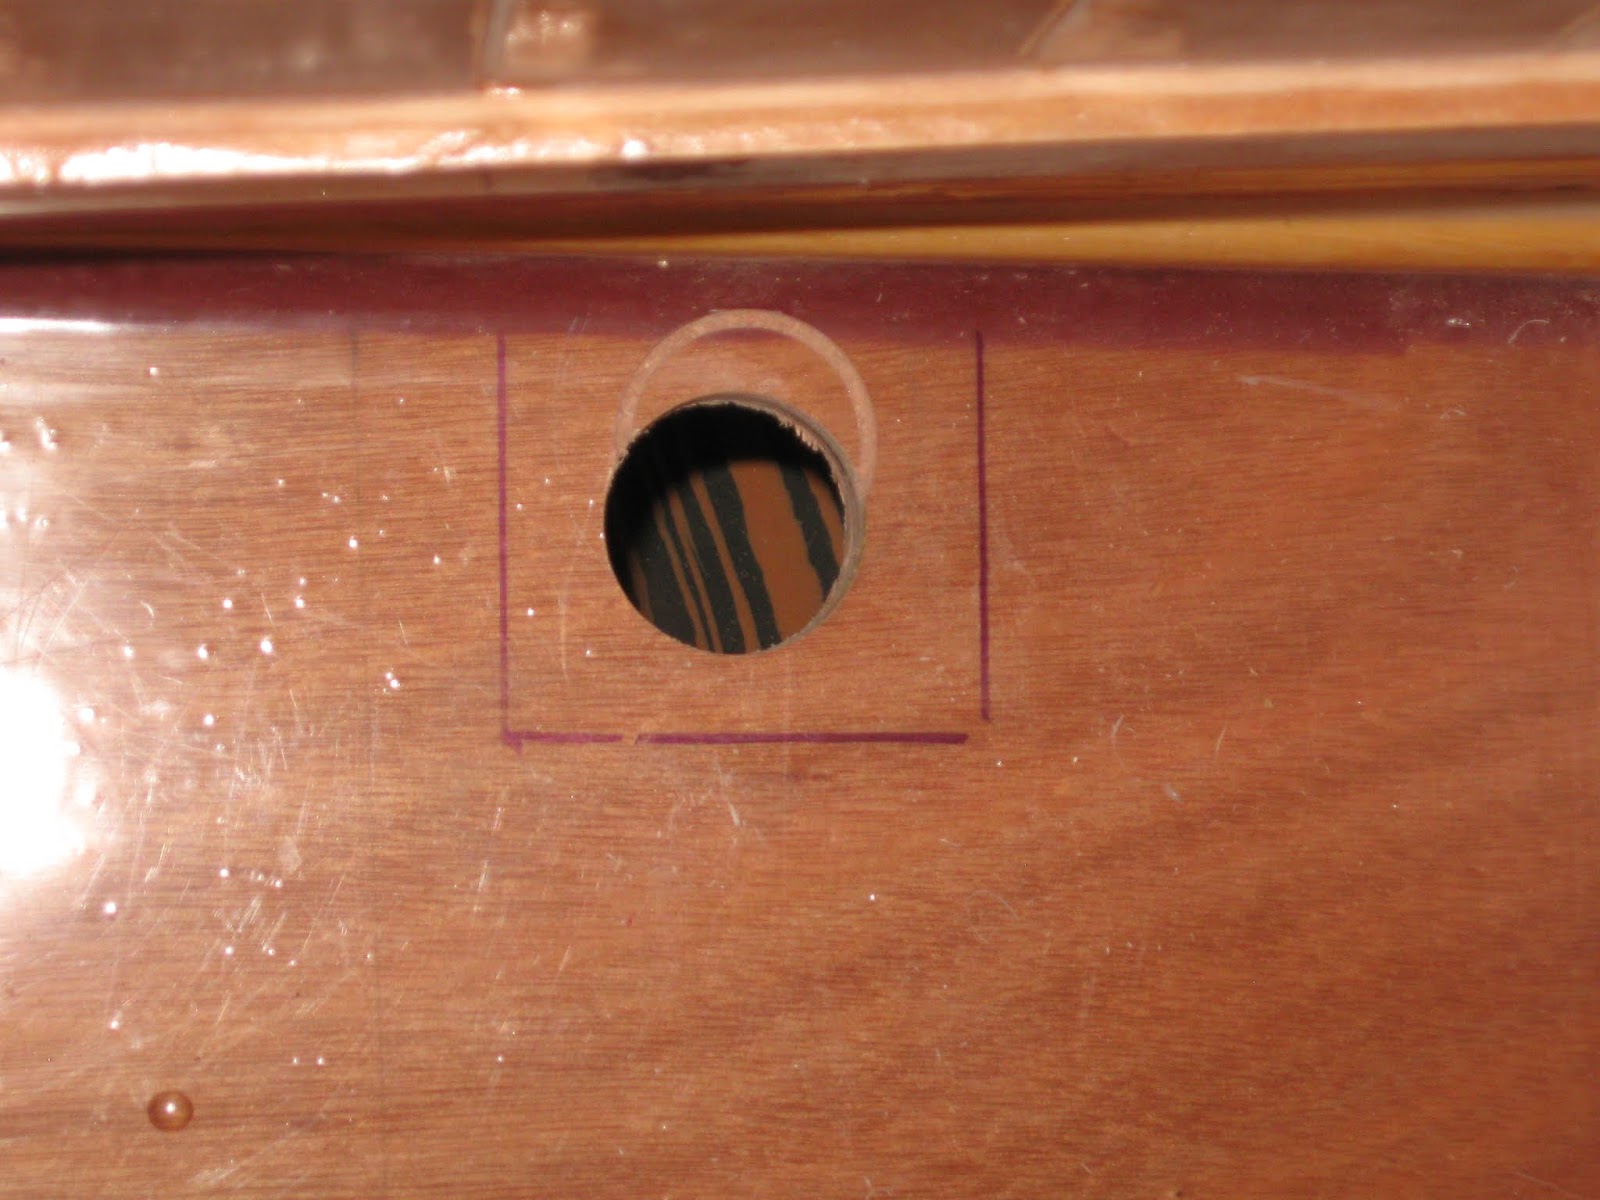
 However, I could fit the transducer for the echo sounder, without committing myself irrevocably to its wiring, although I'm pretty sure where it will end up.  As ever, it was a bit scary drilling a damn great hole through my pristine hull.

 I used some purple heart to support the transducer itself.

And glued it carefully into place over the predrilled hole.  I forgot to take a photo of the finished job.  Apologies.

 Back in the galley, I'd been ticking away at the wee locker, with its various stages of gluing and coating.  Of course I had to fit hinges to the door and have come to the conclusion that my learning curve is completely flat where these are concerned.  I won't say how long it took me to fit the damn things.


 The next job was the really exciting one of putting down tigerwood on the counter.  My friend Murray, kindly gave me a few hours to help me cut up the timber - and by the time most of it ended up as shavings or dust, the weight was reduced to an acceptable level.  I dry fitted it.

 I dislike stainless steel sinks and, besides, they come in a limited range of sizes.  I decided to make one.  At first I thought I'd make it with sloping sides to look nice, but mature consideration convinced me that the sloping sides would simply encourage the water to come out when the boat is heeling.

 My right-angled joinery is usually 'more or less', but I wanted this to be a little more accurate than usual.  Phil and Mark had given me a special clamp some months ago, and this proved to be excellent for the job.  With set squares clamped in place for extra insurance the whole thing went together satisfactorily.

 I filleted it straight away, to ensure that the corners stayed true.  Some of the tigerwood, in spite of having been properly seasoned and properly stored for a few years now (!) goes berserk once it goes through the saw so sometimes it needs to be coerced into cooperating.  I've found I need to pounce on it just at the right time, glue it down and get a coat of epoxy on it to stabilise it as soon as I can.

 But it's soooo beautiful that it's worth it.  I lined the sink up carefully, fitting runners to the long sides so that I could screw it in place.

 Then - sheer silliness this - I used the lengths from the appropriate planks to make the bottom of the sink.

 The base is made from an offcut of 4mm ply. I had glued the tigerwood to it first, carefully marking it to that it would fit snugly, but will admit to being more than a little startled when it did.  I must be improving.

 So then I dry fitted it.  All tickety boo, no?

Well, no, actually.  God only knows how it happened, but when I came to glue it in, it point blank refused to come anywhere near flush and I had to spend ages trimming the runners to get it to fit.  I am still completely bewildered as to what went wrong.  On second thoughts, maybe I'm not improving.

 However, finally I got the planking down and the sink glued in and I have to say that I think it all looks pretty good.  The fiddle is being held in place by clamps, in an effort to persuade it that it would far prefer to be straight than bent like a banana.

So portholes to fit, cabin sole to cover, saloon table to make and then lots of varnishing and that will be about it.  Until I remember all the things that I need that I have so far forgotten!!


25 November, 2018

The bulk of the galley completed.


I'm sorry that I haven't posted for so long.  I went away to Nelson for a week and it took me two weeks to catch up on all the things I neglected to do in Nelson.  (I'd gone with good intentions of sitting at my computer, writing emails, doing tasks that I had neglected as Chair of the JRA, editing articles for the magazine.  Instead, I chatted with my friends, loafed in the sun, pottered around and did a lot of reading.)

I came back full of energy and good intentions, but although I have certainly been putting in the hours, life and hordes of visitors have slowed down progress.  However, I love seeing my friends and if it means that boat is launched a few weeks later than would otherwise be the case, well so be it.  But there are many times when I wish either that there were a few more hours in the day, or that I didn't need to spend quite so much time in bed!

 The next- indeed, tigerwood apart, the final - big job in the galley was making and fitting all the doors.  My technique, now, is to use Gorilla polyurethane glue for the initial glue up, and then let the epoxy coating finish the job.  This allows me to put the doors together more quickly and with less mess, one at a time.

 Any gaps where the panelling meets the frame are filled with neat epoxy, which also percolates between the plank edges.  The result is a very stiff, very light and very attractive door.  I should like to take credit for this wonderful concept, but in truth, they are exactly the same as the doors we fitted to Badger and China Moon.  The only difference is that this time I'm allowed to make the frame, as well as fit the panels!

 I fitted the slats for the vegetable locker, which, I hope,will help keep it dry.

 And remembered that the end of the counter still had to be cut and fitted.  So that was duly done and glued down over the cutlery drawer.

 The shelves being painted and the slats being coated, finally everything could be glued into place.

 One of the very good things about epoxy is that it doesn't require any pressure to set.  The little lead weights were quite sufficient to ensure a good joint.  The slats simply required pushing into place - and at the last moment I remembered not to glue in the final one, so that I could get my hand underneath for cleaning.

 I made up a tray for the second shelf down.  This is to hold my glasses, some of which are Waterford crystal, bought for 5 bucks each from the market.  Well, why not?


 This was made in exactly the same way as the shelf fiddles and, once again, I relied on the coating epoxy to finish off the gluing job.  It is surprisingly robust, considering how flimsy the materials are.

 Four more doors yet to make, so I set up a sort of production line.  This is the one from the veg locker.

 And these are the frames for the lockers under the cooker.  Made in this fashion, I can be sure that they will fit.  I wouldn't trust my measurements to make them 'on the bench'.

I dry fitted them into place before coating them and then facing the agony of fitting the hinges.

 The 'door' at the back is actually going to be fixed in place.

The only thing more heart-stoppingly expensive than barrel bolts, are hinges.  Some time ago I bought a length of brass piano hinge and I used this to make the hinges for the cabinet.  (This was Paul Marine's brilliant idea!)

 Cutting the rebates on the door was the easier of the two to cut, but I find it very difficult judging the correct depth.  My perusal of You Tube didn't help much (what's 1/32 of an inch in real measurements, for heaven's sake?)  For a start, they all assumed that I'd had the sense to plan the hinges before I assembled the cabinets.  Yeah right.

And then, due to a distraction, I drilled the finger hole on the wrong side of the aftermost (right hand) door, which meant that the hinge had to be fitted on a piece of wood that extended beyond the door.  I won't tell you how long it took me to get from the coated doors, to this stage, where they are sanded and fitted.

 But then, they all had to come off again so that the rebates could be coated.  I debated this, but some of the screw holes had been refilled with so many slivers of wood, that the doors and frames looked as though they'd been attacked by woodworm.  I lived to regret it: another distraction caused me to fit a couple of hinges to the wrong frames (having carefully set them down so that they went back where they came from.)  Because the hinges are individually made - 'crafted', I should say!- they were all slightly different.  But not different enough to be noticeable until I tried to shut the door.  It took all day to put the never-sufficiently-to-be-cursed hinges on the correct rebates.

However, the final result is rather splendid don't you think?

So now, I have a bit of trim and a spice rack to make, the portholes to install and I need to machine up a heap of tigerwood for the galley counter, the cabin sole and the saloon table.  Then I can fit the deckliner and call the accommodation finished.

I had been hoping to complete it by the end of they year.  Ah well, nothing wrong with hoping.